
With my two littlies kindy having eight teachers, I have made them each one of these tissue holders beacause they are oh so - nice, quick and easy! Here's a tutorial in case you might like to make some too.

Cut two pieces of fabric to size 5 ¾" x 7 ½".

With right sides together sew along the 5 ¾" edges with a ¼" seam allowance.

Turn right side out and iron.

Place with the fabric that you would like to be on the outside of the holder facing you, then fold the top down to 1 ¾".

Then fold the bottom piece upward so that in total it measures 3".

Pin in place.

Sew with a ¼" seam allowance.

Turn right side out - voila!

 With my two littlies kindy having eight teachers, I have made them each one of these tissue holders beacause they are oh so - nice, quick and easy! Here's a tutorial in case you might like to make some too.
 Cut two pieces of fabric to size 5 ¾" x 7 ½".
 With right sides together sew along the 5 ¾" edges with a ¼" seam allowance.
 Turn right side out and iron.
 Place with the fabric that you would like to be on the outside of the holder facing you, then fold the top down to 1 ¾".
 Then fold the bottom piece upward so that in total it measures 3".
 Pin in place.
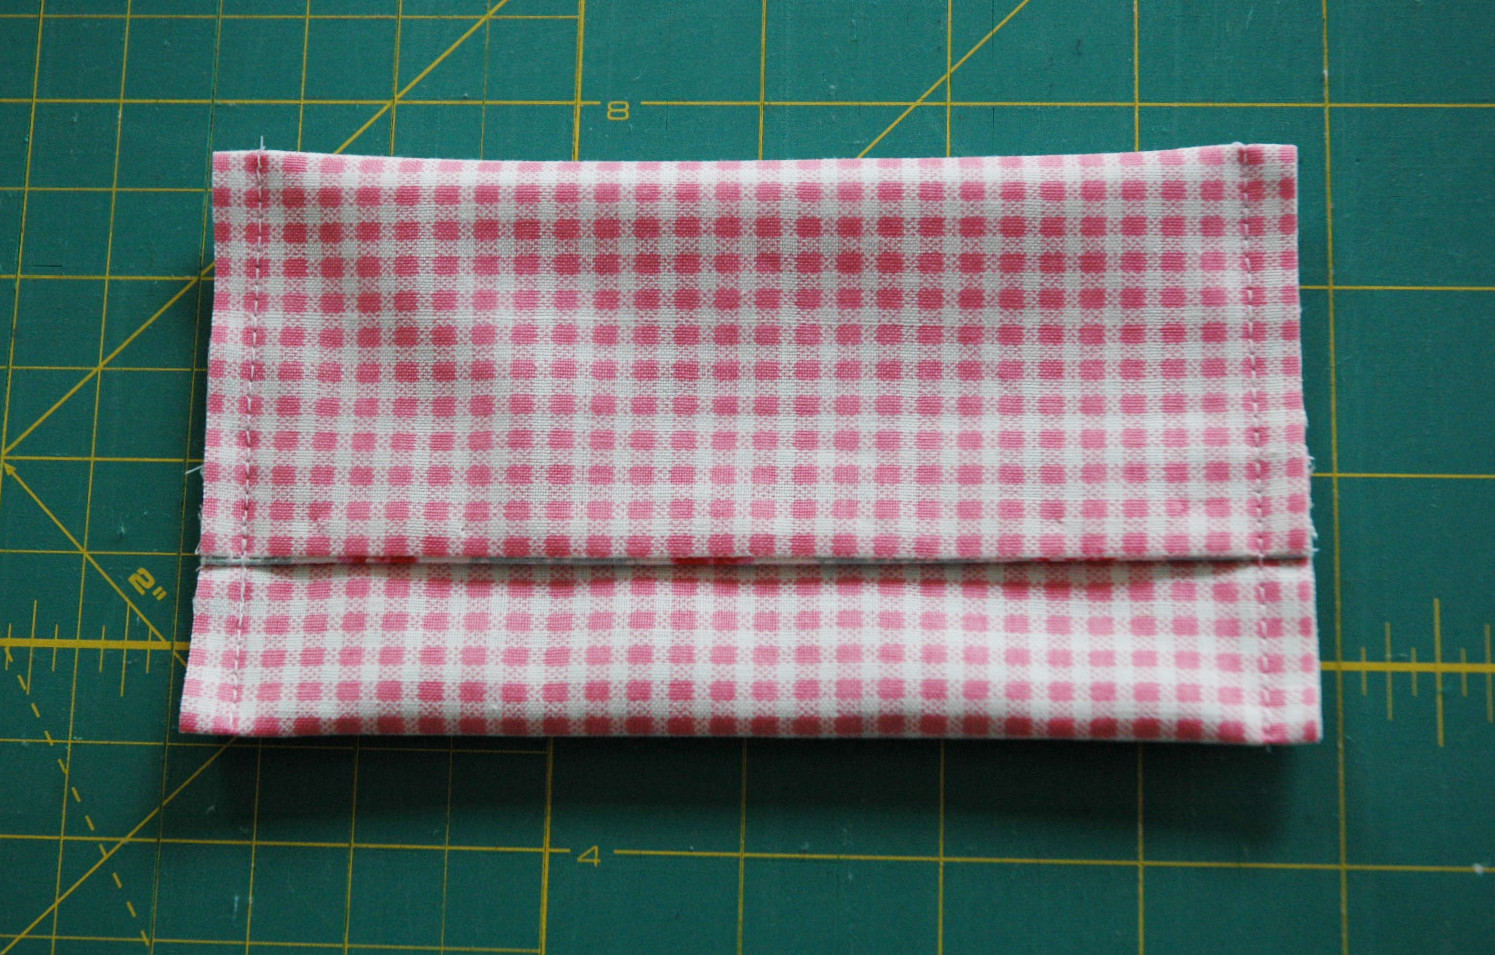 Sew with a ¼" seam allowance.
 Turn right side out - voila!
7 comments:
oh thank you for this!!
Miss Eva wants to make one for her teacher!
Nice straight lines to sew!XX
What lucky teachers and such beautiful fabric !
they're so great! Must make some.
Very cute!x
What a clever idea! And a great tutorial! Thank you! Lots of love, Amanda xxx
Thanks for sharing, this is really sweet!
Wow! I just made this in a few minutes :) I thought I had a little ways to go and suddenly it was finished. :) Thanks for the tutorial.
Post a Comment